Hey ya’ll! In my last post, we talked about backyard/home composting. This post is going to be about composting, but in a different way. That’s right…let’s talk, WORMS!

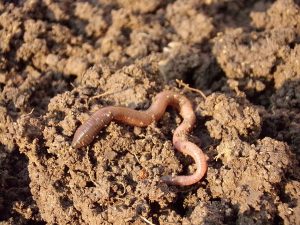
Squiggly, wiggly worms. I grew up digging for them for fishing. Big ones, small ones – none of them were safe. But now, aside from fish food, I’ve learned there’s more use to these lil wiggly things – Compost!
I remember first hearing about this method a few years back in the news. A couple that owned a restaurant found that all the scraps they were throwing away were getting consumed by the “local” worms. In turn they were getting fresh “dirt”. It wasn’t anything they planned, it was something they just happened to stumble upon.
It didn’t mean much to me then. I wasn’t into self-sustainable living, homesteading, or even gardening back then, but looking back on it now, I’m thinking how blessed they were to find that information. Good compost is expensive and if you want a nice garden with a big and beautiful bounty with no chemicals added, this is the way to go!
How It Works
The method of using worms to create compost is called vermiculture, and here’s how it works.
Just like all living things, worms eat and poop. The poop they produce is called casting. That casting is what you are after. So, the more food scraps the worms eat, the more casting they produce.
Word of caution! You may think a lot of casting is a great thing, but it’s not. Overworked casting is called vermicast. This overworked casting, or vermicast, happens when you have left your worms in their bin for too long without fresh food. What happens is, they will consume the food, their bedding, and then eventually their poop. They will still produce casting but it will just pooped out poop. This doesn’t make “more good compost”. In fact, most of the nutrients will be gone and your worms will begin to die.
If you want to experiment with vermiculture, keep reading below for how to start and what to do.
What You Need
You will need a few things to get started. If you are a DIYer, you can do most of these things pretty cheaply. However, you can always shop online for the things you need.
Needed:
Worm bin – the worms need a home. You can either buy one, or make it. Here’s a great video on how to make a cheap and basic worm bin. My suggestion, if you choose to make your own, look for a bin that is more shallow and long than deep. Having more surface area is better for the worms. Deep containers can make the bedding compact and the worms have a harder time feeding.

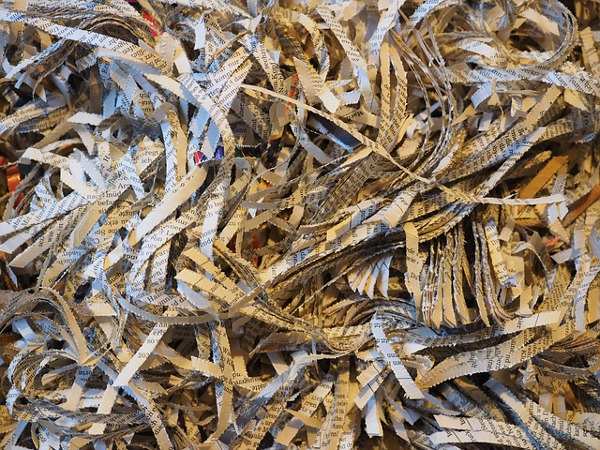
Bedding – speaking of bedding. Every home needs a nice comfy bed! Your worms will too. Materials you can use for bedding are shredded newspaper, dried leaves, paper from a shredding machine, wood chips, coconut fibers, paper bags, cardboard, even rabbit, cow, or horse manure! Whatever you use, make sure it is NON-TOXIC! The worms will eventually eat this bedding and you don’t want to make your hard-workers sick. So, stay away from high gloss papers like you find with the “slicks”/newspaper ads, paper products that were used with chemicals, and human feces. Pro-tip: You may want to add just a handful of sand to the mix. The sand will help the worms break down the food faster.

Moisture – Your bin needs to stay moist – but not wet. Moisture helps the worms “breathe”. Too much will cause bad odors and drown them. For moisture control, read here.
Food Scraps – You need to eat and your worms need to eat. So make sure that you give them food scraps. You will want to avoid things like…
- meat and bones,
- dairy,
- onions and garlic,
- oily/greasy food,
- tobacco or anything toxic,
- acidic foods like citrus foods,
- salty things or pet/human manure.
Stick with fruits, veggies, paper, egg shells, coffee/tea grounds etc. If you chop up the scraps, it will be easier for the worms to digest as well. Make sure you bury your scraps in the bedding to keep the smell down and try not to overfeed your worms. If you find that your worms aren’t going through your food quickly, you either need more worms or less food.

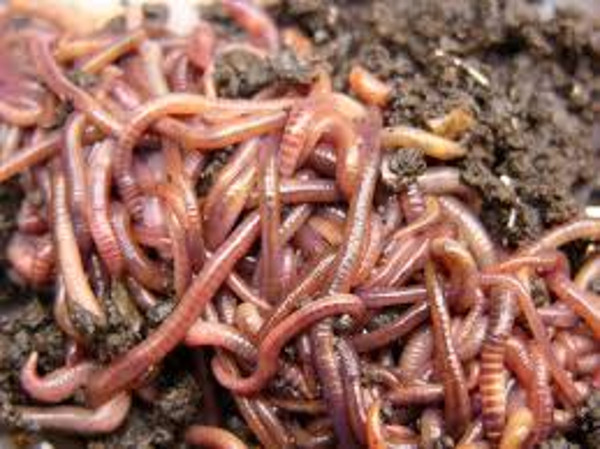
Worms – Last but not least – the stars of the show! You need WORMS, but not just any worms will do. Most worms are not built for the job of composting. The kind that you want are scientifically called: Eisenia fetida, or “red wigglers”. There are other kinds of worms you can use for this project as well:
- Eisenia andrei (red tigers)
- Lumbricus rubellus (dung worms)
- Perionyx excavatus (Indian blues)
- Eudrilus eugeniae (African nightcrawlers)
Make sure you research these worms. Some need special climates to survive. If you want to be safe though, the most used worm is the Eisenia fetida – red wiggler. Make sure that you buy them from a worm grower that has been producing worms for composting reasons. Please don’t go to your nearest big box store or fishing store to buy them! You will pay out the wazoo for them because you will need at least a pound of worms/sqft to get started.

Research – I used to watch Reading Rainbow religiously as a kid. One thing Levar Burton used to say was, “But, you don’t have to take my word for it.” And that’s how I feel about this. If you take on this project, you will be caring for living beings. Make sure you know what you are doing. Don’t make my mistake. I took on this project a few years ago because I had some left over fishing worms and wanted to try it. Well, every worm is not built for this project. Before I knew it, I had no compost AND no worms! I don’t know if they died and decomposed or if they crawled away. All I know is, I should have done my research.
What To Do
You have your bins made or bought, your bedding prepared, your worms are all settled in, and your food is ready to go. Now you’re ready to put it all together! Here is a great video on how to do that and what it will look like.
As you add food, be sure to not add too much. As food breaks down it creates heat and moisture. Too much heat will cook your worms. Too much moisture will drown them. Before that happens though, you will see them trying to escape. If you see worms on the sides of the bins you know something isn’t right – maybe it’s too moist, acidic, or hot. Either way, take action and remedy what’s wrong.
After your worms have worked for you, you can start collecting the “tea” – the excess moisture from the food and worms breaking down the food (how to collect this was talked about in the video that describes how to make a bin, above) and the casting. There are a few ways to do this. You can either sift the castings, or let the worms migrate to new bedding and food. Check out these links that describe how: a video and a write up.
That’s it! It know it was a lot and the thing is, I really didn’t go into everything you need to know. But don’t let that discourage you. It really is an easy concept and once you get the hang of it, you’ll be sifting through black gold (castings) in no time!
Thanks for reading!
~Deidra